Garden Jargon Glossary
- Annuals: Plants that complete their life cycle in one year.
- Biennials: Plants that complete their life cycle in two years.
- Perennials: Plants that live 2+ years.
- Direct Sow: To plant a seed in a garden bed outside.
- Start: To plant a seed in sterile potting medium indoors.
Want to know two different methods for starting seeds indoors? Ask two different gardeners. And they will both be right.
For years, I have been reading articles, gardening books, and blogs and I have sifted and sorted and dialed in a system that works really well…for me. I’m going to lay out my method, for you to sift through and experiment with on the path to find your own seed starting method.
Create a Plan to get Starting Dates
2023 Seed Starting Plan (Printer Friendly .pdf) 🌱💚
First, I list all the plants I’ll be starting from seed. Then I refer to my planting guide for starting dates and then begin to organize everything by month. Then I sort them further into lists of direct sow and starts.
With regard to timing when your seeds are planted, there is about a 2-4 week window where it doesn’t seem to impact the outcome. I find I have more trouble when I start seeds too early (and I usually do) rather than too late. If you want to start them early—go for it. But also start a few later and compare your results. I’ve broken so many rules and was punished with a bumper crop.
Gather Materials
- South facing window and/or grow light.
- Seeds
- Sterile Potting Soil (some people get seed starting soil, I use cheap stuff that has served me well.)
- Paper Pot Maker
- Paper: newsprint or seed catalog paper (not shiny)
- Trays
- 4” pots for up potting
- Craft sticks
- Sharpie
- Seedling Heating Mat if growing in a cold basement or greenhouse
Seed Age
Seeds lose vigor with age, some faster than others. According to the Sustainable Gardening Handbook here are some averages on how long seeds remain viable.

- 1 year: sweet corn, onion, parsnip, leek
- 2 years: okra, parsley,
- 3 years: asparagus, bean, carrot
- 4 years: beet, mustard, pepper, pumpkin, tomato
- 5 years: broccoli, Brussels sprouts, cabbage, cauliflower, celery, collard, cucumber, eggplant, kale, lettuce, spinach
I don’t trust my seed storing technique and discard seeds over a year old. (I don’t take special care to maintain consistent temperature and humidity.) Sometimes I’ll test them by germinating some seeds in a wet paper towel. Seeing how many and how well they germinate gives me a feeling for their vigor. If they seem weak, or just not many germinate, then I won’t waste my time with the batch.

Southern Window vs. Growing Light
The south facing window method served me well for many years, but the increased vigor of seedlings under a grow light was undeniable. It is a worthwhile investment, and a necessary one if your house doesn’t have access to full south sun.
Seedling heating mat?
I’ve done fine without it, but many of my gardening friends swear by them. The Solanaceae (tomatoes, eggplant, etc.) and cucurbit (cucumber, melon) family would appreciate them. Also, if your house is cool like mine (low-60s) it may also decrease your risk of damping-off, which is a fungal infection that thrives in cool-moist conditions. I experienced that last year and it was sad to see my little seedlings topple over at the stem with fuzzy white stuff on them. The ones that survived never recovered their vigor. It was a bummer, but I was also interested in the experience.

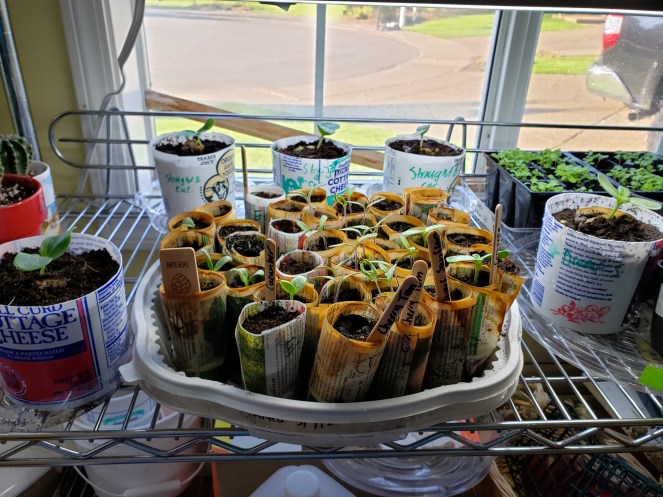
Pots
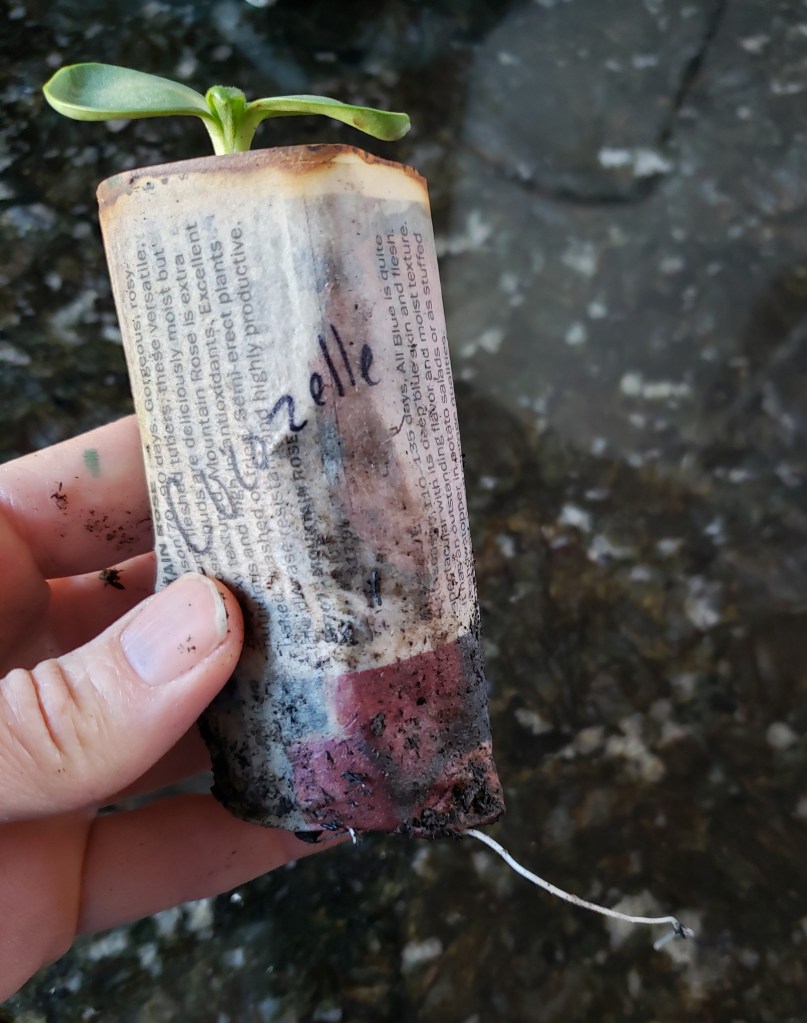
I prefer to use pots made from newsprint paper. My favorite paper is from seed catalogs. I bought this Paper Pot Maker from Amazon and have made at least a thousand paper pots and still find it fun. The pots breathe well, wick water like champ, and you can plant the whole thing in your bed minimizing root disturbance.
The Process
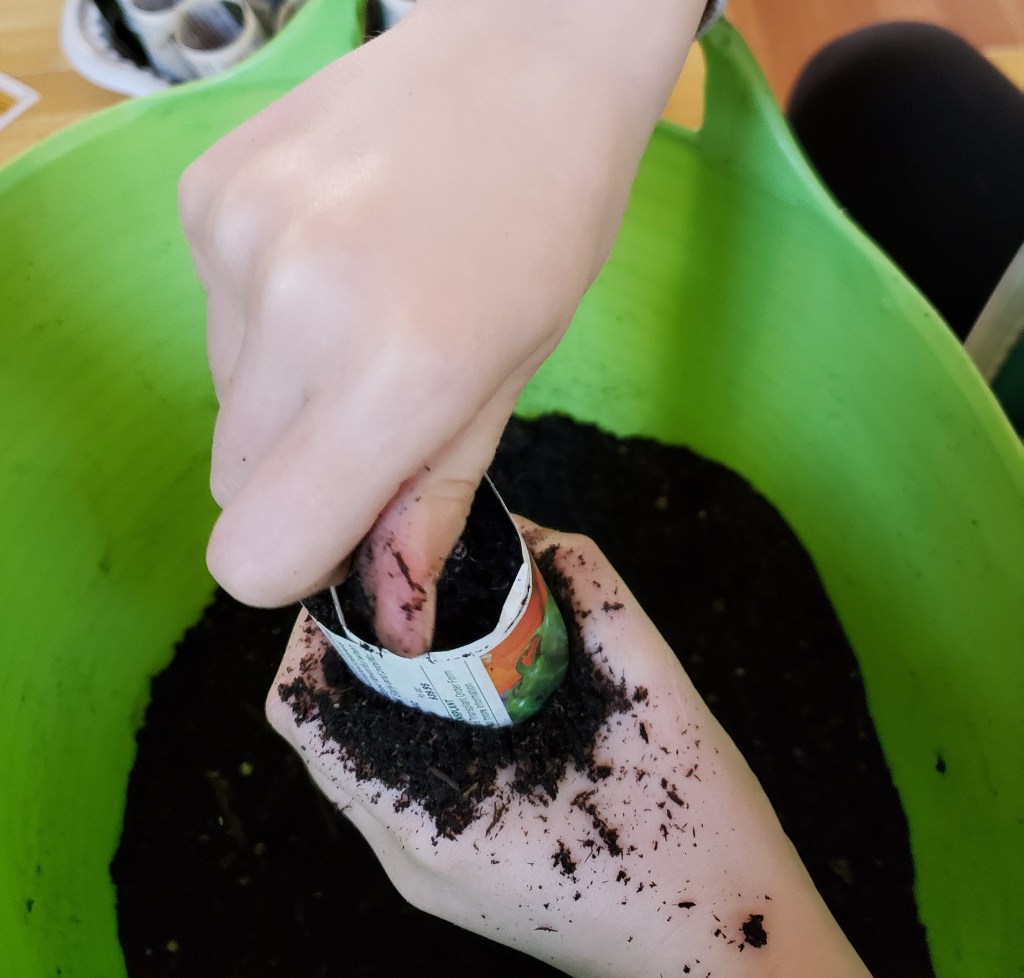


- Dump some potting soil in a bucket.
- Make the pots.
- Hold the pot over the bucket and gently fill with soil.
- Place in the tray.
- Repeat until they are all filled with soil and resting comfortably in the tray.
- Poke in your seeds. (Basic rule of thumb, twice as deep as the seed’s diameter.) I usually add two seeds per pot.
- Mark with a craft stick or write on the side of the pot.
- Label the tray with the date started. (And note in your plan.)
- Water the tray two-thirds of the way up with lukewarm water.
- Let the water wick up the pots and refill the tray if needed. The seeds need to be wet to get the signal to germinate. Just as if they were outside in the rain.
- Once the seeds sprout they need to be moist but not soaking wet any longer.
Watering
Check on your seeds daily. Touch the tops of the paper; if it feels crispy add lukewarm water to the tray.
Light
Once the seeds sprout ensure they get the sunniest window (this might involve moving from window to window and shifting them around so they don’t shade each other.) Or flip on your grow light. I follow the light cycle of the day.
Feeding
Each seed contains enough food for the plant to put out its first set of true leaves. (Seed leaves are the first to emerge, then true leaves.) Once the reserves are exhausted they must get nutrients from the soil. In general, my potting soil is not enriched. So at this point I begin to add a little liquid food to their water. My favorite is an organic liquid called Buddha Grow by Roots Organic. Organics are better for us, the planet, and more forgiving to work with (it’s harder to over do it and burn your plants because the organics take longer to break down).
Up-Potting
Many of your babies are going to burst out of their paper pots before they are ready to go outside. (I’m looking at you tomatoes and squash.) Keep a supply of fresh potting soil and 4” plastic or plantable pots handy. I up-pot when the roots push through the paper and the sprout looks sturdy. I add a little soil to the bottom of the new pot, pop in the paper pot and gently sprinkle soil around the edges to fill the new pot.
For the cucurbit family (cucs, squash, melons) use plantable 4” (or larger) pots to minimize root disturbance when you transplant. Everybody else is pretty happy in the standard 4” plastic pots until transplanting time. If you use recycled containers ensure you put a few rather large holes (1/2″ or so) in diameter for drainage.
At this point I swap the round plastic trays with sturdier metal or plastic trays. Because I only have one grow light, I’m also rotating between sun exposure and grow light every few days. I also begin to water the pot rather than the tray. Don’t forget to feed them at least once a week.
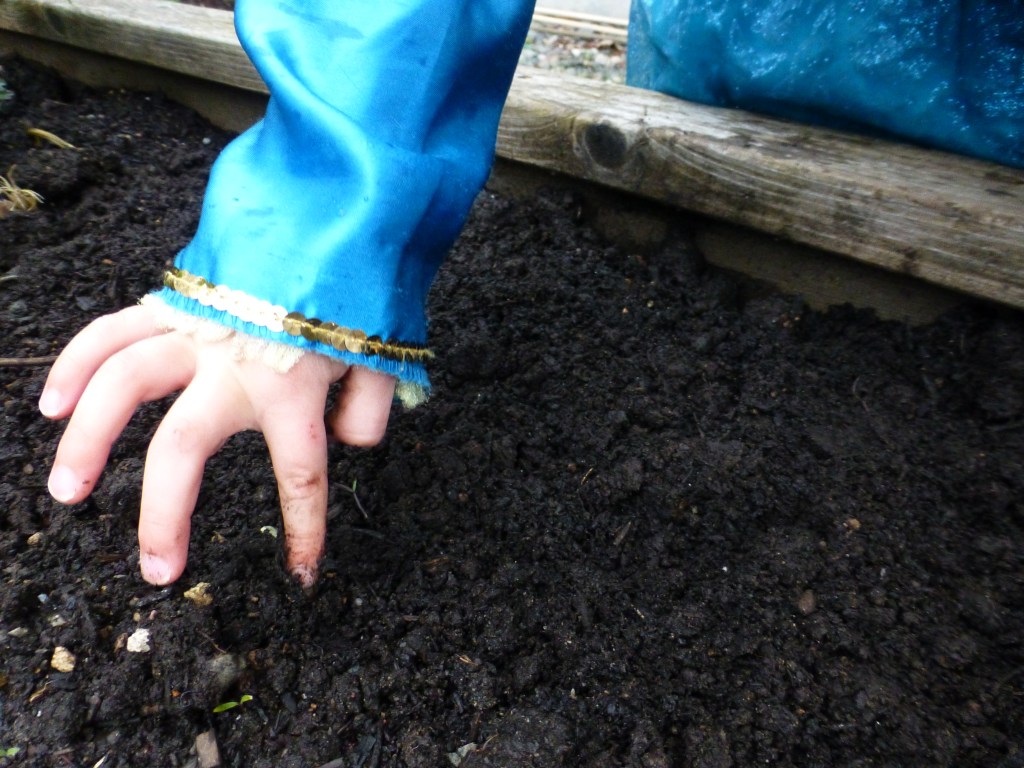
Thinning
After up-potting, it’s time to select for the most vigorous start. I find this process excruciating and sometimes don’t do it at all. I doubt I actually clipped the one in the photo. Sometimes nature herself and one dies and other times both plants go on to do well and produce fruit.
Trouble Shooting
Yellow Leaves Mean: They are lacking in nitrogen and need to be fertilized.
Long Weak Stems: Leggy seedlings are searching for light.
Wilted Plants: If the pots are dry, they need water. If everything is already wet and your plant is droopy, then they are drowning due to over watering. Unfortunately, the symptoms look the same.
Failure to Sprout:
- The soil could be too dry. This is by far the most common issue, people are generally worried about overwatering their seeds. I’ve replanted some pots only to have the original seeds germinate when they finally got the water they needed. Oops. A cover over your unsprouted seeds will keep the humidity high.
- Some seeds like perennial herbs like lavender, peppermint, and onions just take a really long time to germinate. Check your seed packet, if you’re worried.
- They needed cold stratification, but didn’t get it. (Many meadow flowers need this.)
- Is it too cold? This is generally not an issue for indoors, but if you’re growing in a basement or greenhouse, check the temperature.
- The seeds could be duds. (Seeds lose vigor with age and if they are exposed to temperature fluctuations.)