
Canning, freezing, and dehydrating are common methods of preserving the harvest. There are websites and books already dedicated to these techniques. I’m here to give you a few alternative methods that are simple and easy as well as some specific tips.
Apples
Cool and store in a refrigerator as soon as possible after picking. Warmth speeds the ripening and aging process. To keep apples from drying, sprinkle or spritz with water (ever so lightly) and store in a plastic bag with a few holes in it. Undamaged fruit can be stored for 2-6 months in this way. My favorite method is to keep a few for eating and put the rest through my apple corer, peeler, slicer. My kids love cranking this thing and pilfering slices to eat. Together we can get a bucket load of apples sliced and ready to go in freezer bags for pie, or to be cooked for applesauce, and on the food dehydrator. This usually happens in October – November, when there is such a thing as free time once again.
Pears
Pick while firm. (If you allow them to ripen on the tree, the core will be mushy and may begin to rot.) Like apples, store in a perforated plastic bag with light moisture in the refrigerator. When you’re ready to eat, set out to ripen two or three days before eating.
Nut Crops
Harvest and dry immediately at about 100 degrees. Store in a dry and dark box or bag.
Tomatoes
Harvest all tomatoes. Fully green tomatoes are not likely to ripen to red, but still can be enjoyed as they are. Tomatoes with red streaks or signs of beginning to ripen have a good chance of ripening in the warmth of your home.
Peppers
Harvest all your peppers as they are. Some, I like to dry (cayenne). Others go in the fridge.
Peppers, like eggplant and tomatoes are perennials that we grow as an annual crop. If your peppers are in a pot, try overwintering them indoors. They need warmth and light, so a grow light or a south facing window is needed to keep them alive in the winter. Then move them into the garden or a larger pot once it’s warm in the spring and they will have a big headstart.
Beets, Carrots, Parsnip, Turnip Storage
Important Tip for all Root Crops: Allow any caked on soil to air-dry. Then, clean off excess soil using a soft brush. Don’t wash your roots before storing.
Store in the Soil
My favorite method is to leave them in the garden soil and pick as I need them. The only downside is that sometimes slugs and tiny centipedes find them first. I’m lazy, so I accept the partial loss. If you want a more reliable or convenient way to store your roots try the following packing method. Use only larger roots with no damage or signs of rot.
Packing Method
- Remove the foliage at the top and brush off dirt. (Don’t wash.)
- In a ventilated box or bucket, scoop in a few inches of slightly moist sand, sawdust, or indoor potting medium. (No added compost.)
- Lay in a layer of the root crop with space enough that they don’t touch each other.
- Add another layer of sand a few inches deep, then another layer of your crop.
- Repeat until the container is mostly full then cover with sand and put on a perforated lid.
- Store in a cool, dark place, use as needed.
- Check every few weeks for any signs of rot.
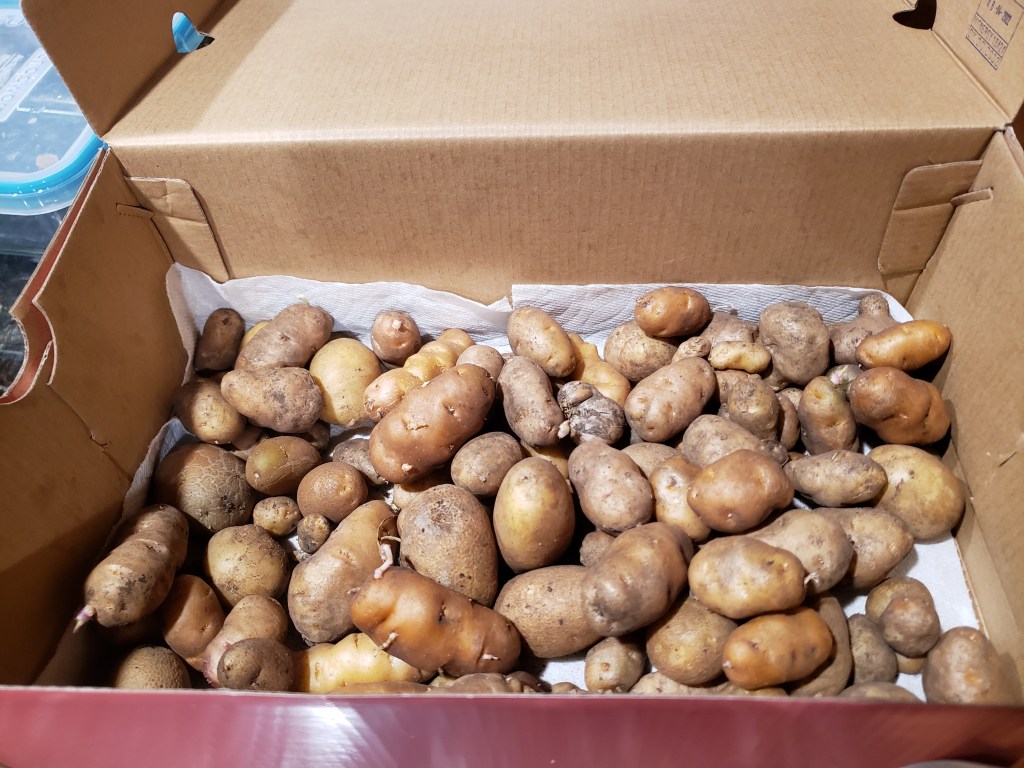
Potatoes

These roots can be lifted, brushed off, and dropped in a burlap or paper bag, or a cardboard box to be used within a month. The container should be light cancelling so they don’t turn green.
For longer storage, curing the skins is required. To cure potatoes lay out in a single layer and cover with a light blocking cloth for a week or two. The potatoes will harden their skins to increase moisture retention and reduce infection. Now they are ready to be stored in boxes or bags in a cool, dark space with decent ventilation. After curing, I like to store my potatoes in shoe boxes. I peek at them regularly and check for any signs of rot or infection and remove them. If they are looking dry and starting to shrivel, I mist them to increase the humidity in their box. I also remove any eyes.
Make sure to save some of your best potatoes for next year’s seed and stop knocking off the eyes about February.
Note: You can store potatoes in the packing method described above, but it is important to check for signs of infection and may spread and spoil your crop.
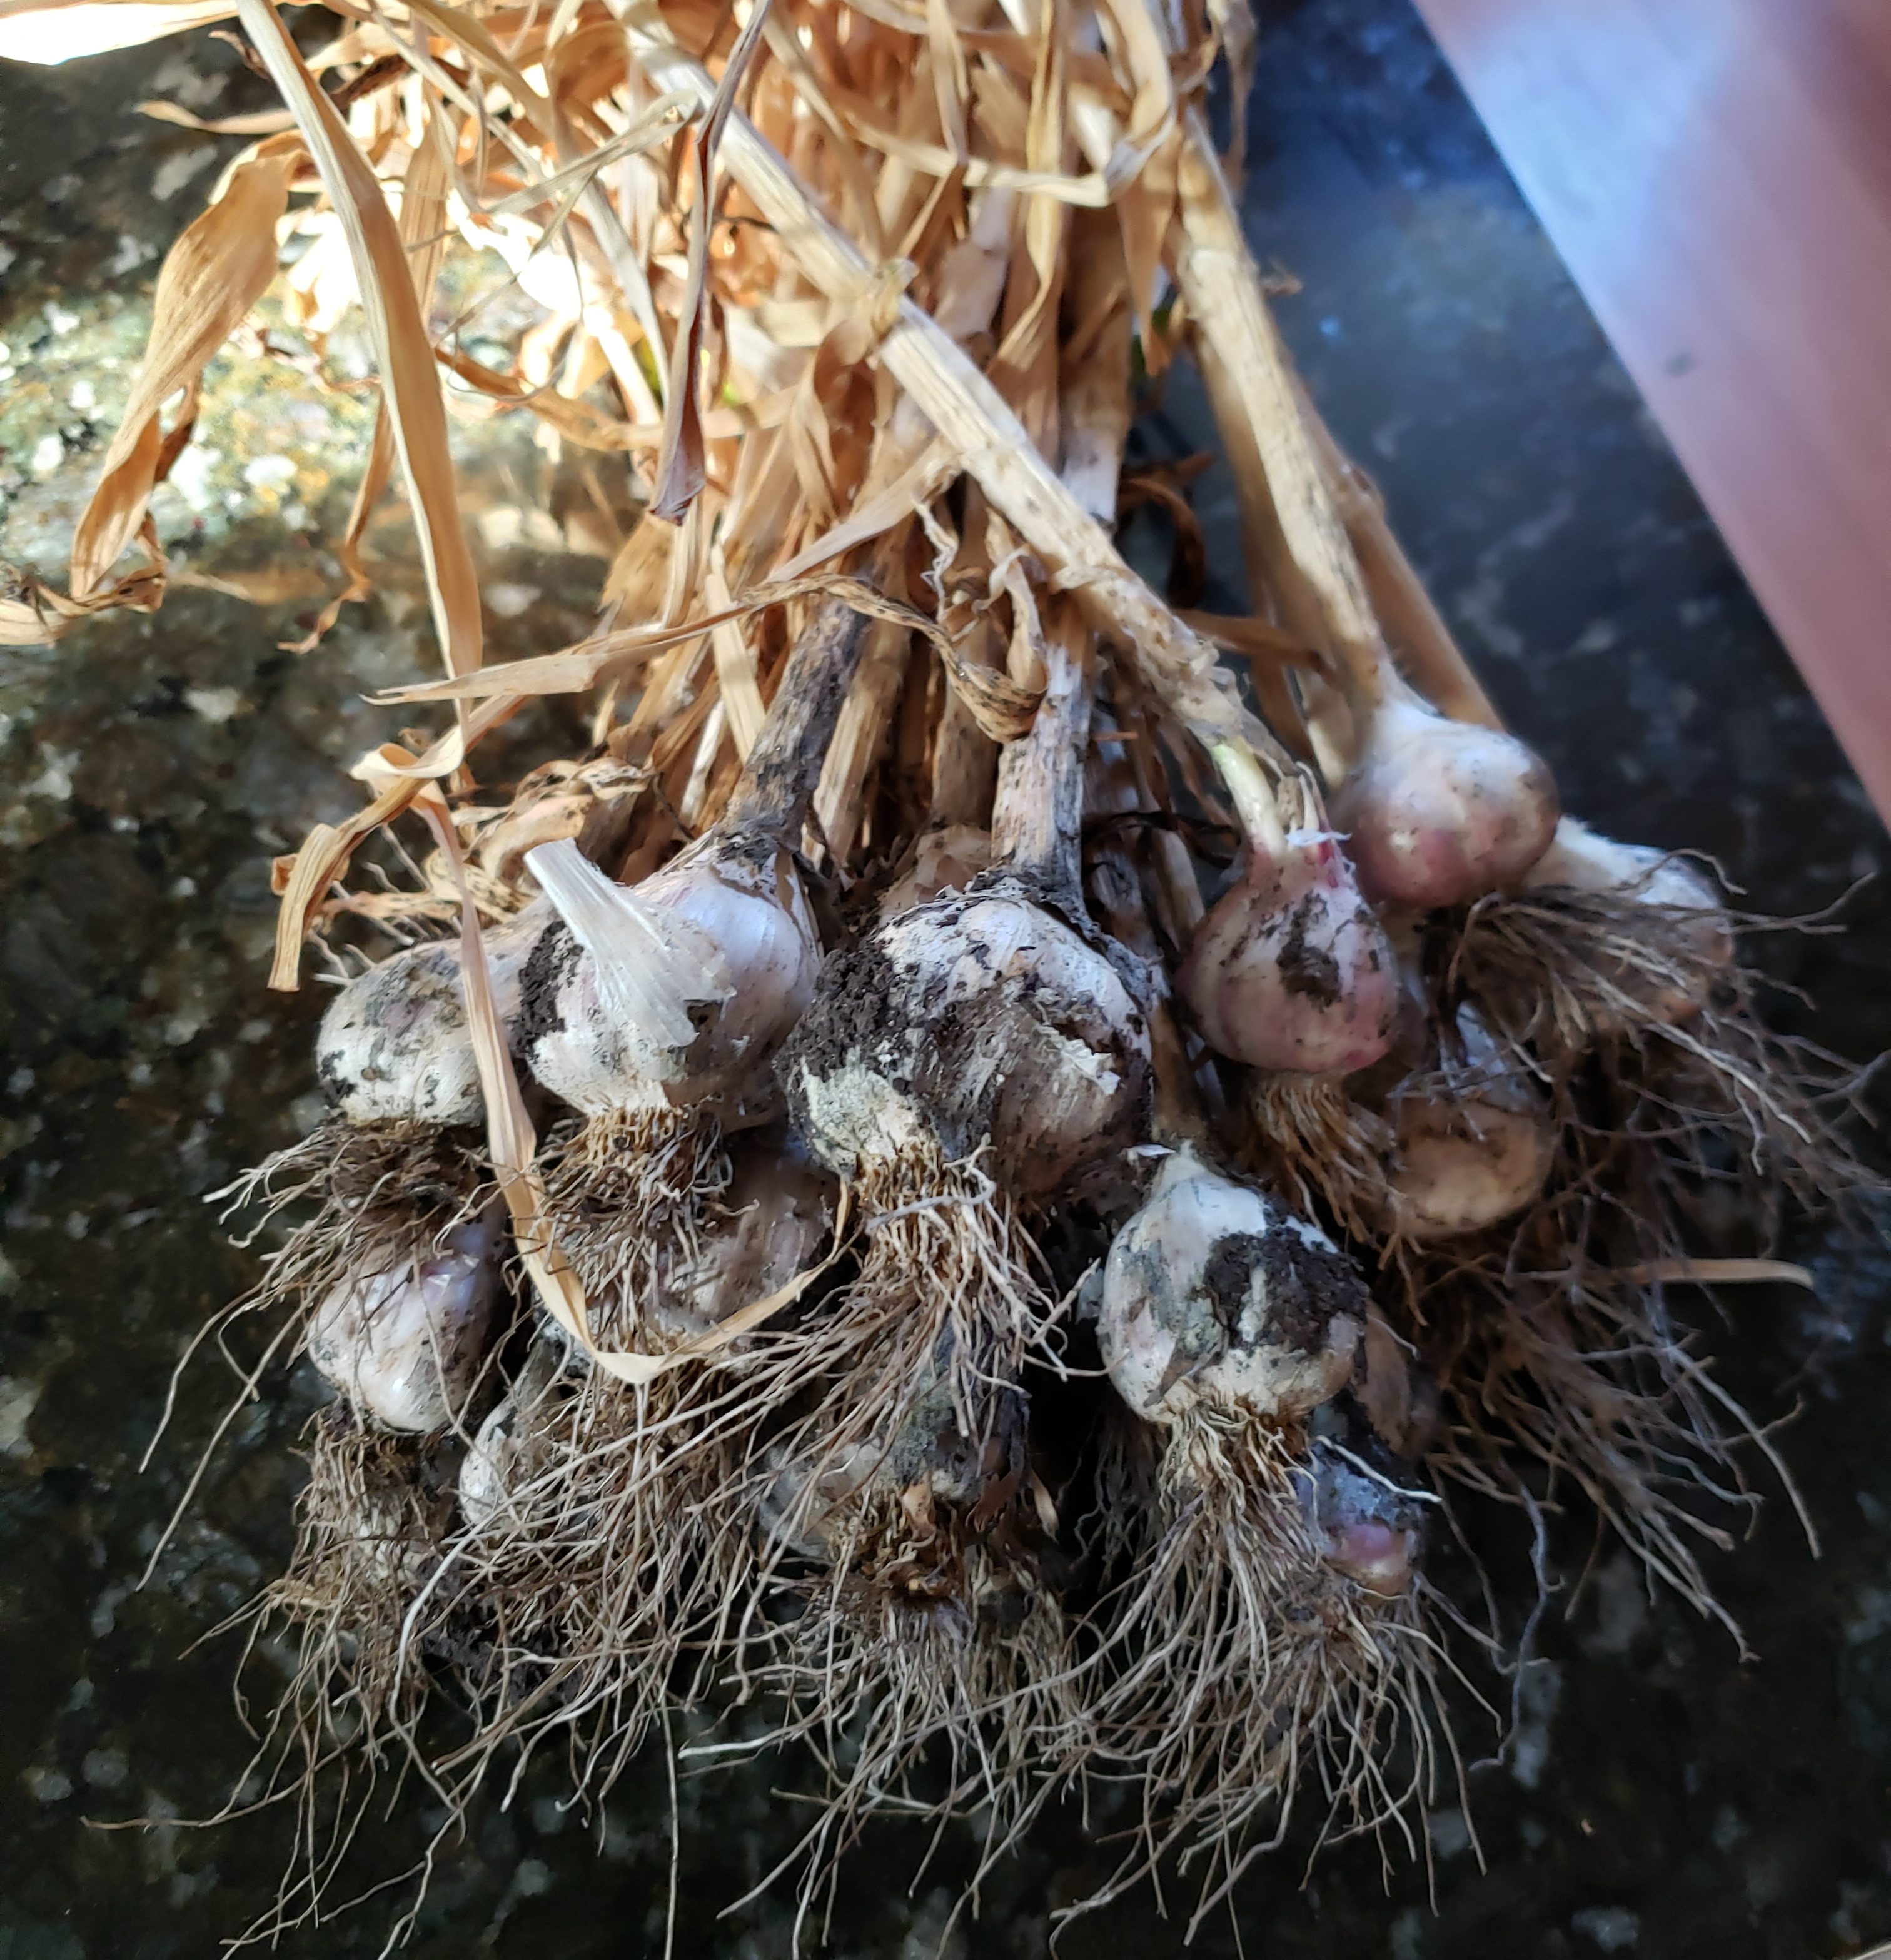
Garlic
- Leave in the soil for a few days or a week without watering.
- Lever a trowel under the bulb and pop it out of the soil.
- Brush off excess soil – but don’t wash.
- Spread out your garlic in a cool, dry, place for about a week to cure.
- Remove the roots.
- For softneck garlic, braid the leaves and hang in your root cellar–(don’t we wish!)
- For hardneck garlic remove the stalk and store in a cool, dark, dry place. (Mine go in a shoe box and gets stacked by the potatoes.)
- Save some of your fattest cloves for planting in the fall. (September – November)
Winter Squash
- Harvest when fully mature. The skin should be firm, thick and dull. Leave about 1 inch of the stem.
- Winter squash (except acorn) benefit from curing in 60-70 degree temperatures for at least a week.
- Store in a cool (50 degrees or so) dark place with decent ventilation and use as needed. Keep away from apples and pears as they release ethylene gas which speeds the ripening process.
Storage Duration
- Acorn Squash: 5-8 weeks
- Butternut Squash: 2-3 months
